
DIY Make your own floating canvas frames
Happy new year everyone! Hope you enjoyed the holidays and created great memories with family.
Have you taken your decorations down yet? If you have, you are probably feeling the Christmas blues and it’s mostly because the walls that where filled with decorations are now empty. Sometimes you can get overwhelmed by the choices you have for decorating walls, because it’s not just finding a good picture but also a good frame. Let me help you fill up those empty walls with some easy steps to creating a framed canvas gallery:
First, remember that this is your home and anything you hang on your walls should be meaningful and joyful. Don’t ever buy things just because you want to fill a space, because in a few months or even days you will regret it. Choose instead things that speak to you, which reflect on memories and make you happy. This can be art work, family pictures and photography.
Second, If you want to print a family portrait or a really good shot you have, don’t be afraid to try it out in canvas. I tried Easy Canvas Prints and it was a good experience, the shipping was fast, the material was good quality and even adjusting my picture to the size in their webpage was a breeze.
Once you choose your art or picture, follow these steps:

Measure your canvas: Be very mindful when measuring, this is the most important step to make a successful frame.
The top and bottom side of your frame: You need to add the horizontal length of your canvas+2x the thickness of the wood (in this case 2”)+2x the thickness of your corner braces.
The left and right side of your frame: Just add the vertical length of your canvas+2x the thickness of your corner braces.
Once you are done, add all of the sides for the total amount needed of strip wood. On these floating frames I used a 2” x 4” stud that I bought at The Home Depot.
Cut your wood strip: Mark the measurements on your wood strip and cut. Once you are done sand the edges to have a smoother finish but don’t over do it. When you're finished double check all the pieces fit correctly before assembling the frame.
Drill the holes for the corner braces: Line up the wood pieces and corner brace to mark the 4 points you will have to drill. Remember these are only pilot holes so don’t go all the way through. Repeat this step on all 4 corners.
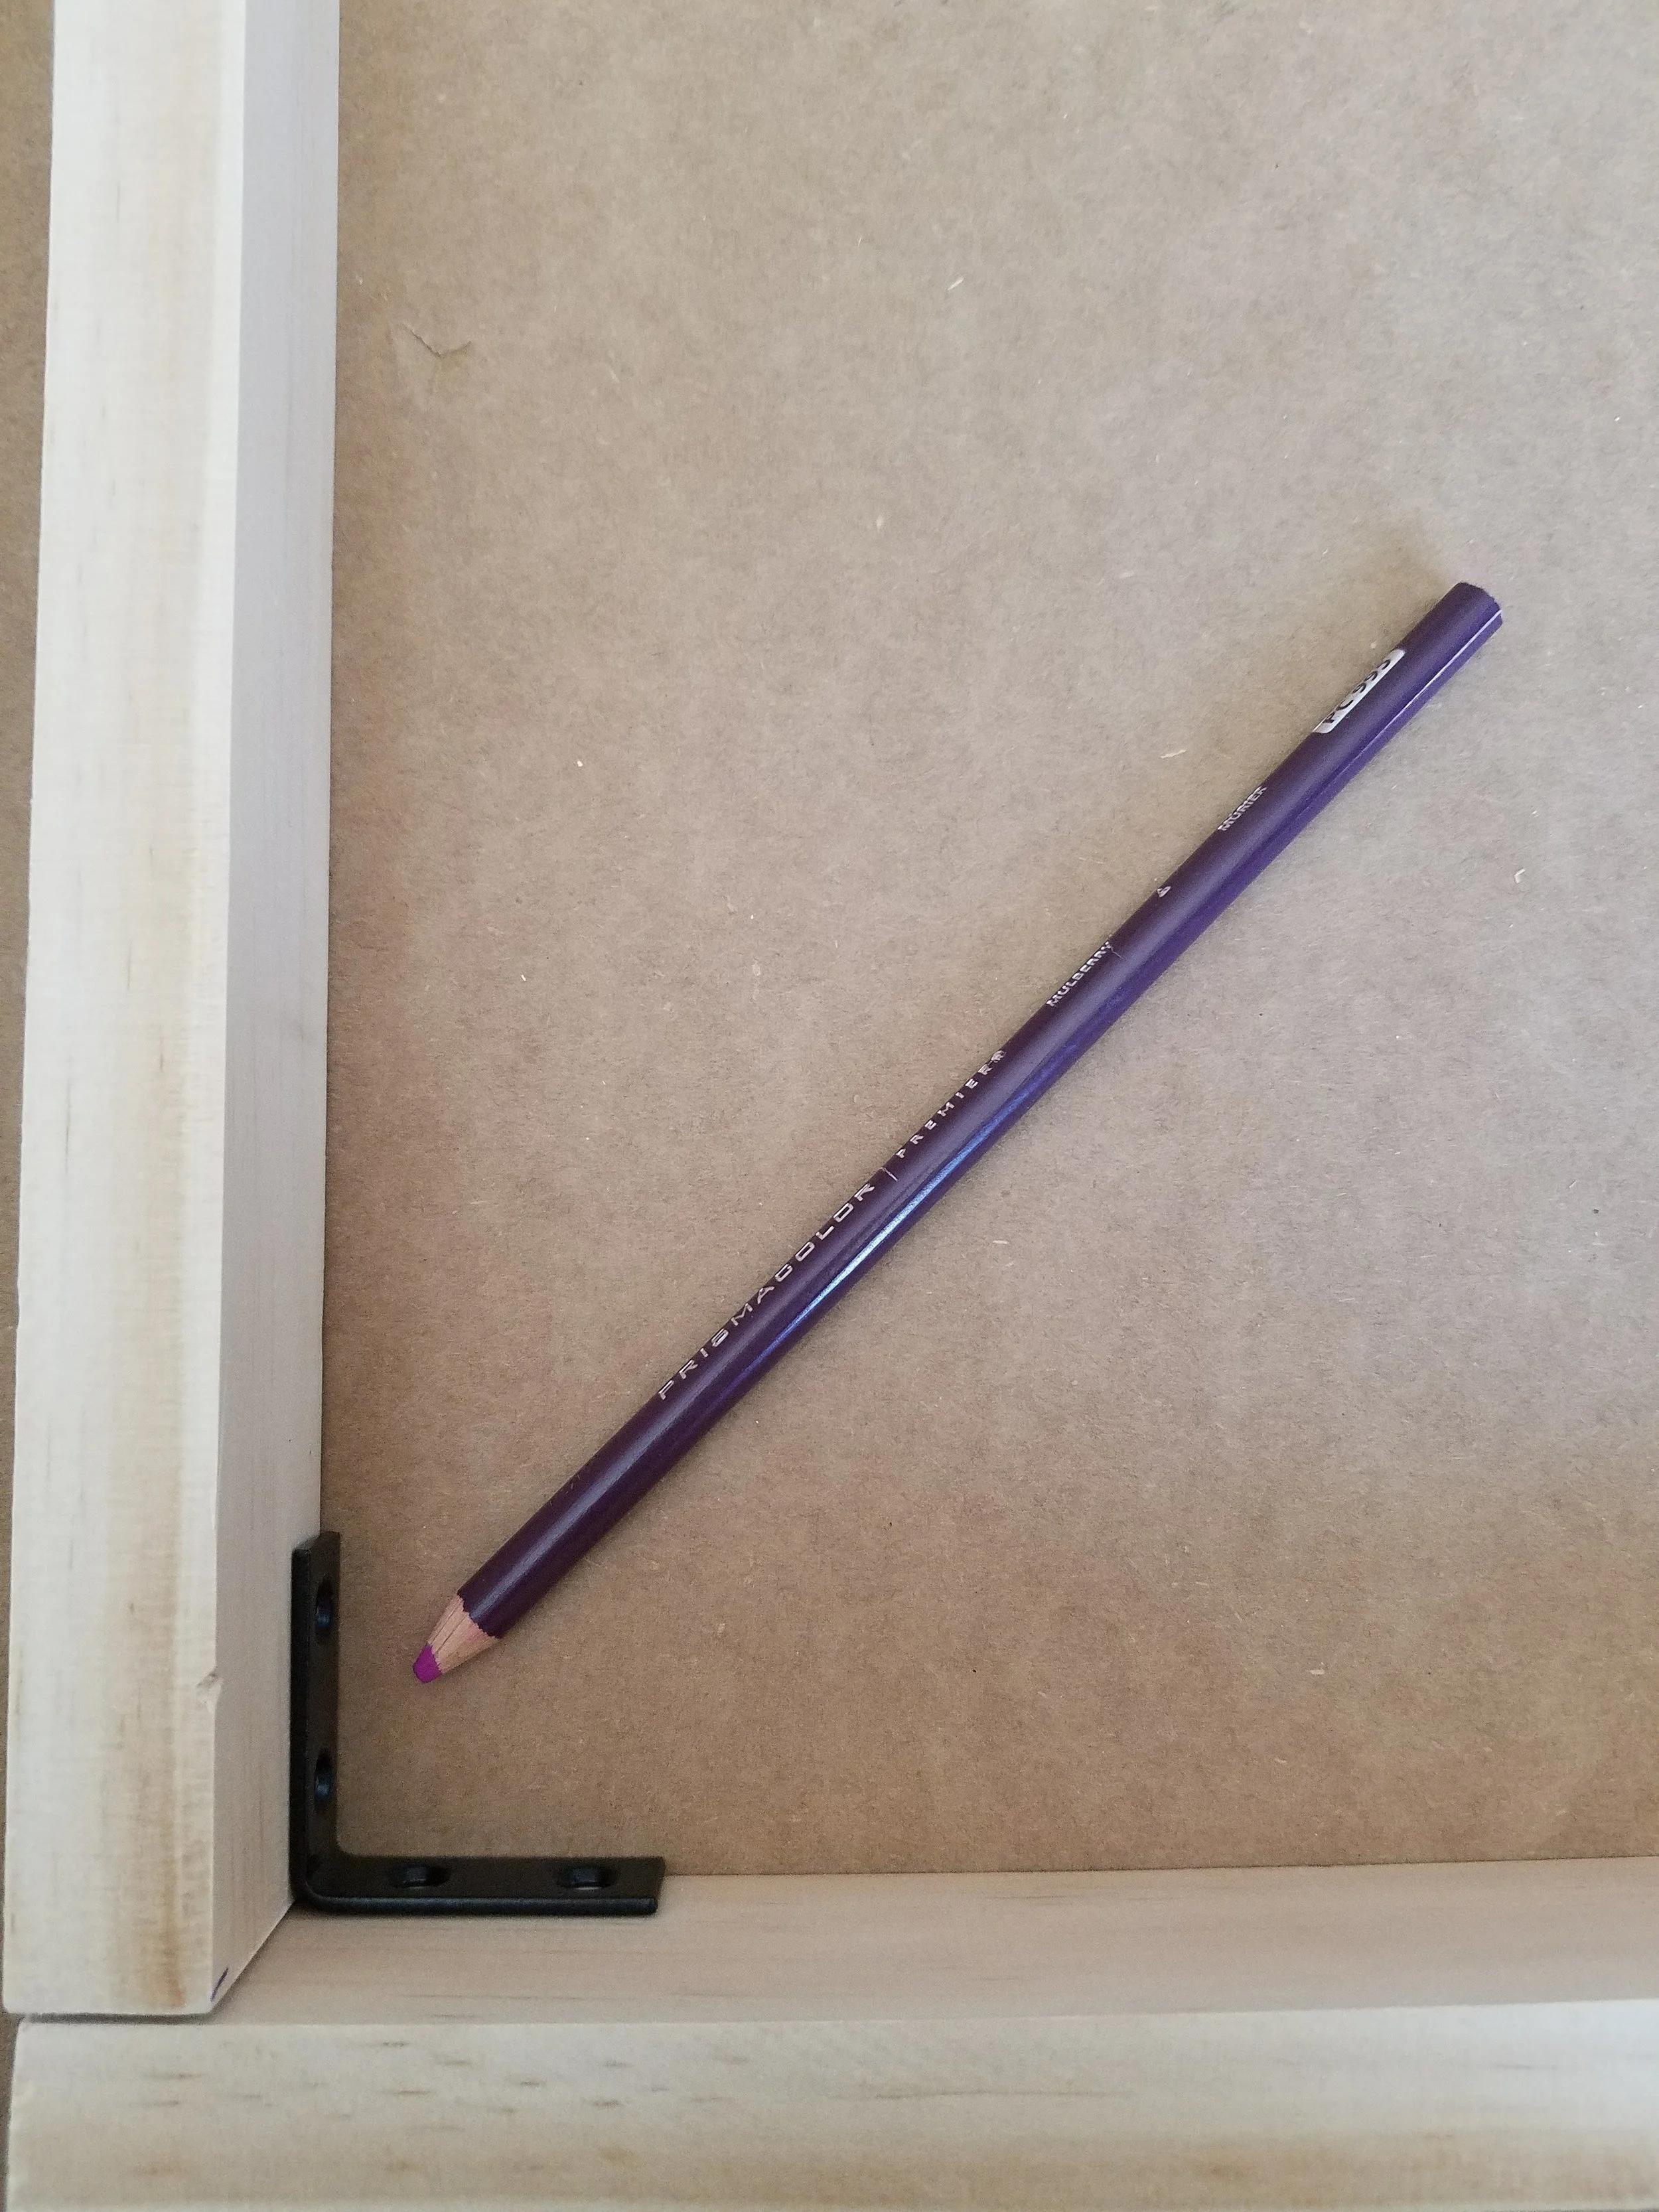
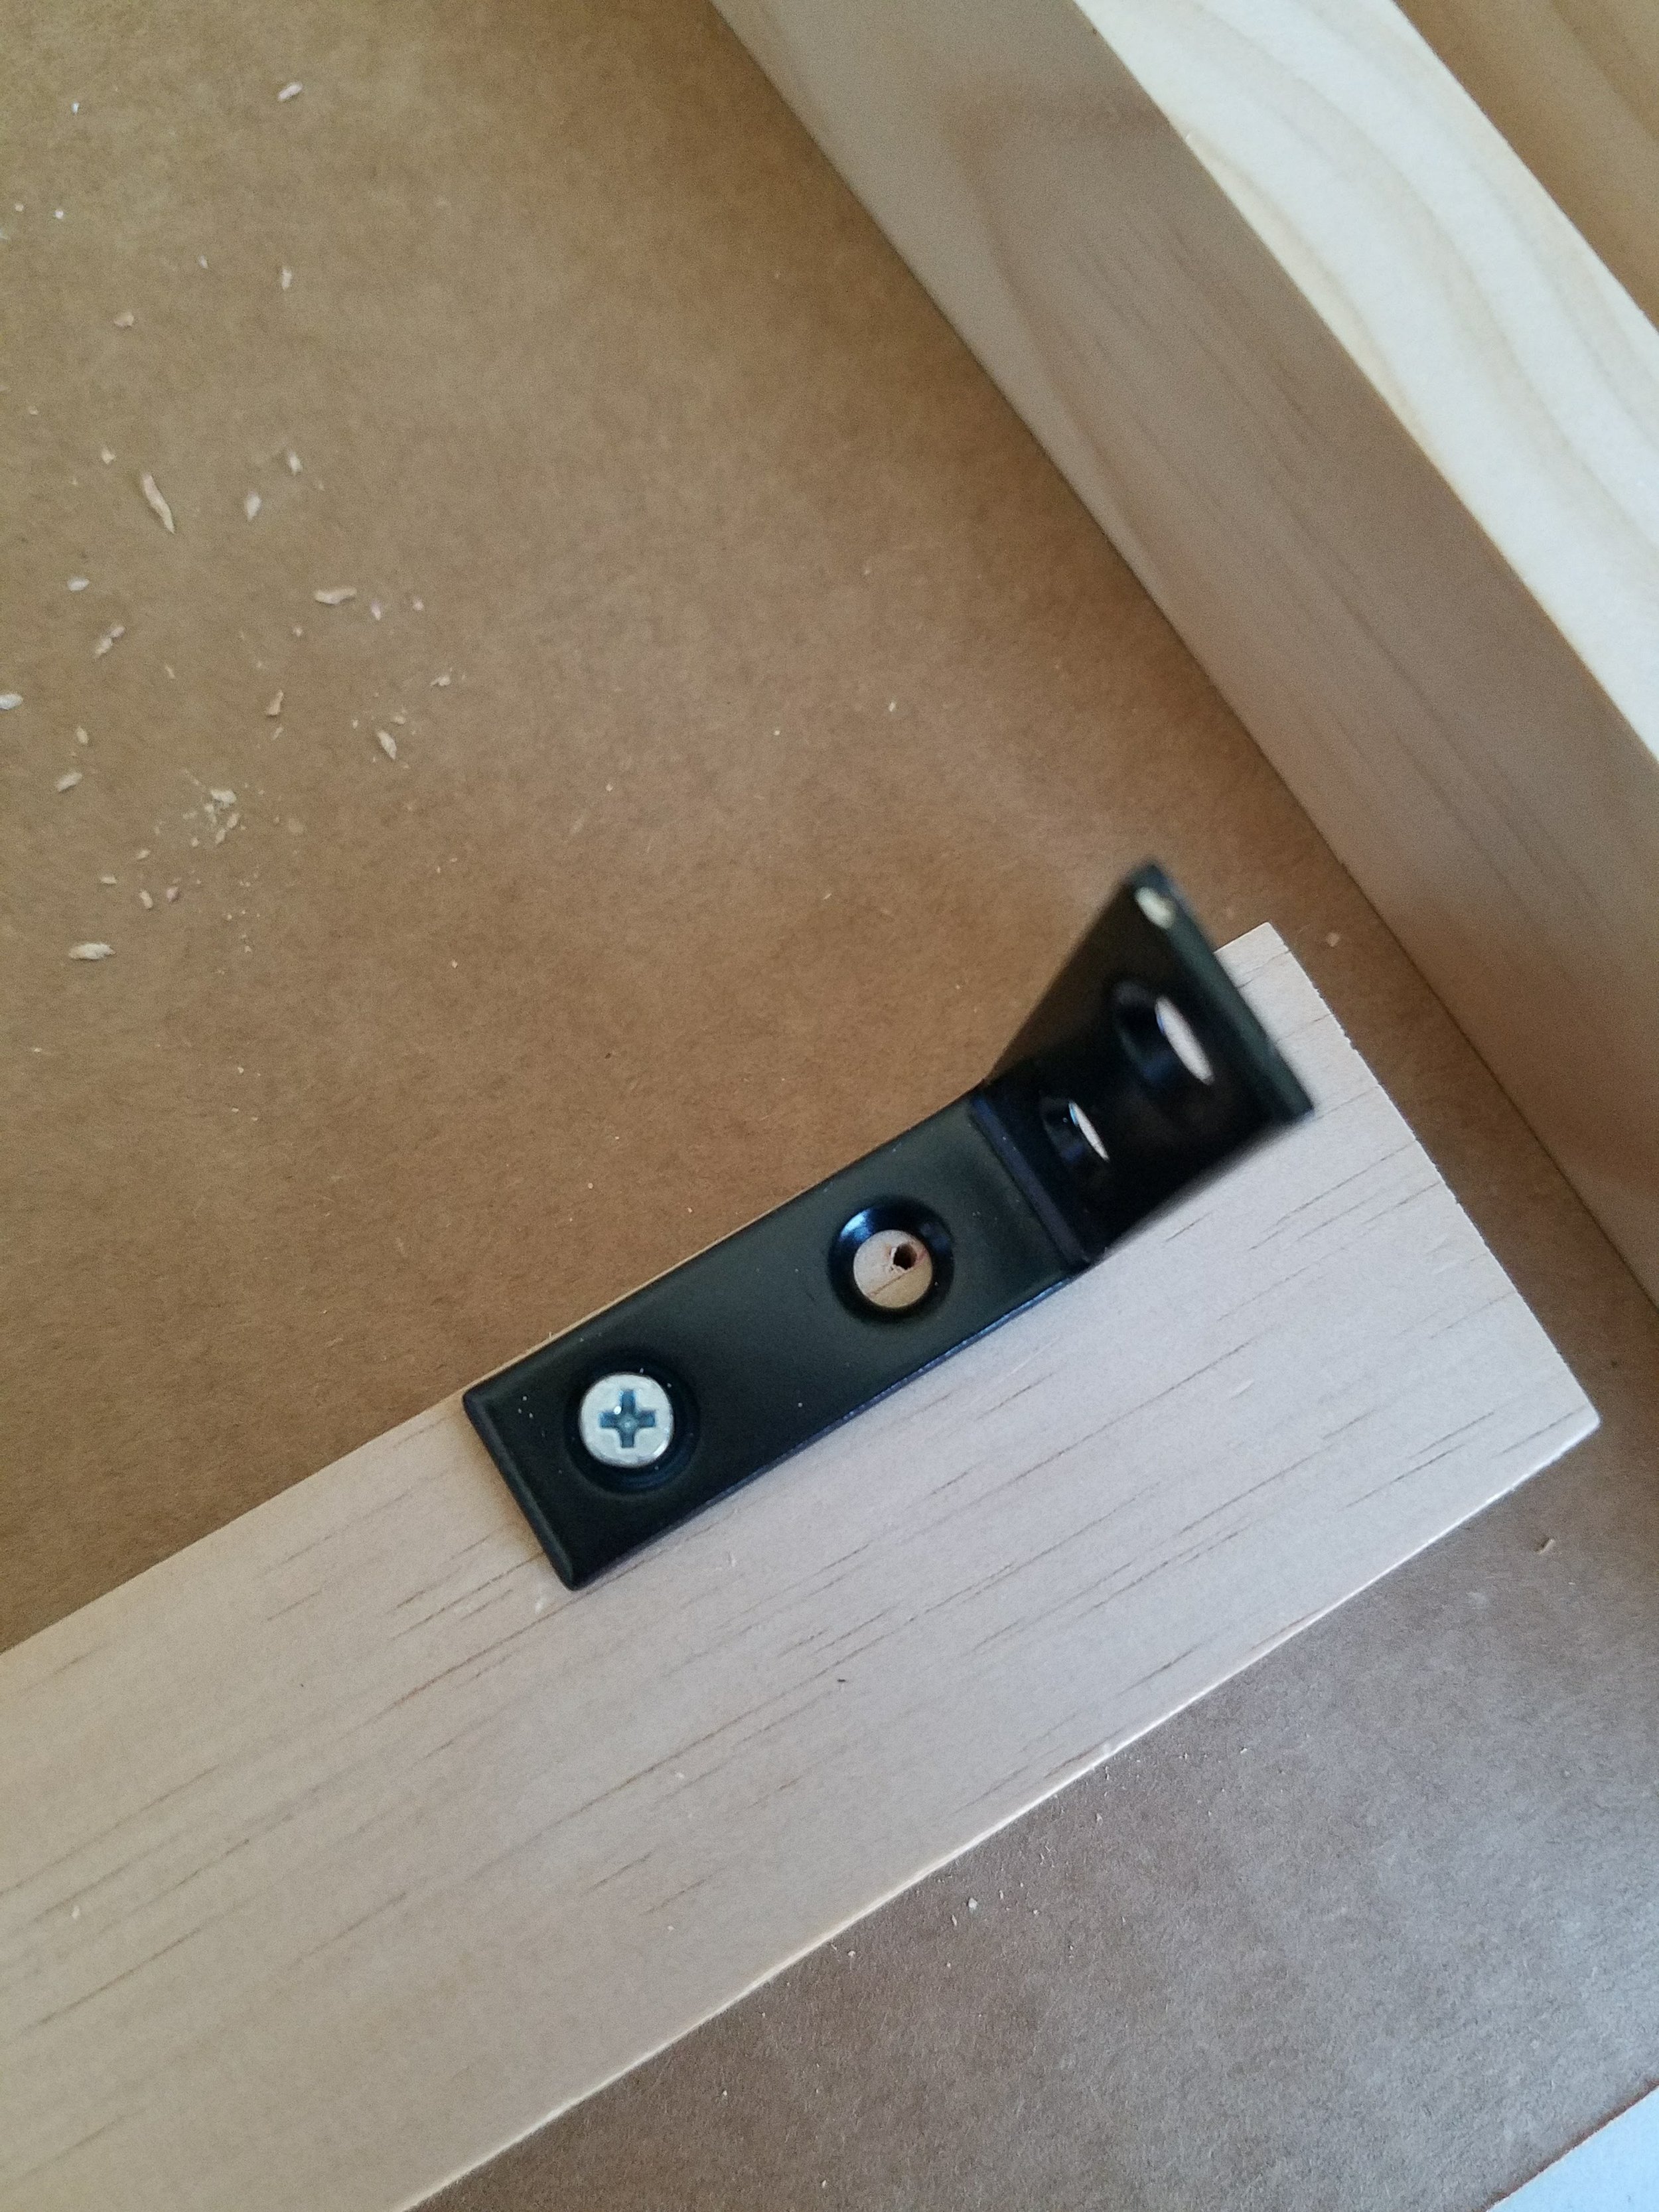
4. Assemble the frame: I used a flat head #4x1/2” and started with the inner holes of the brace. I learned this the hard way.
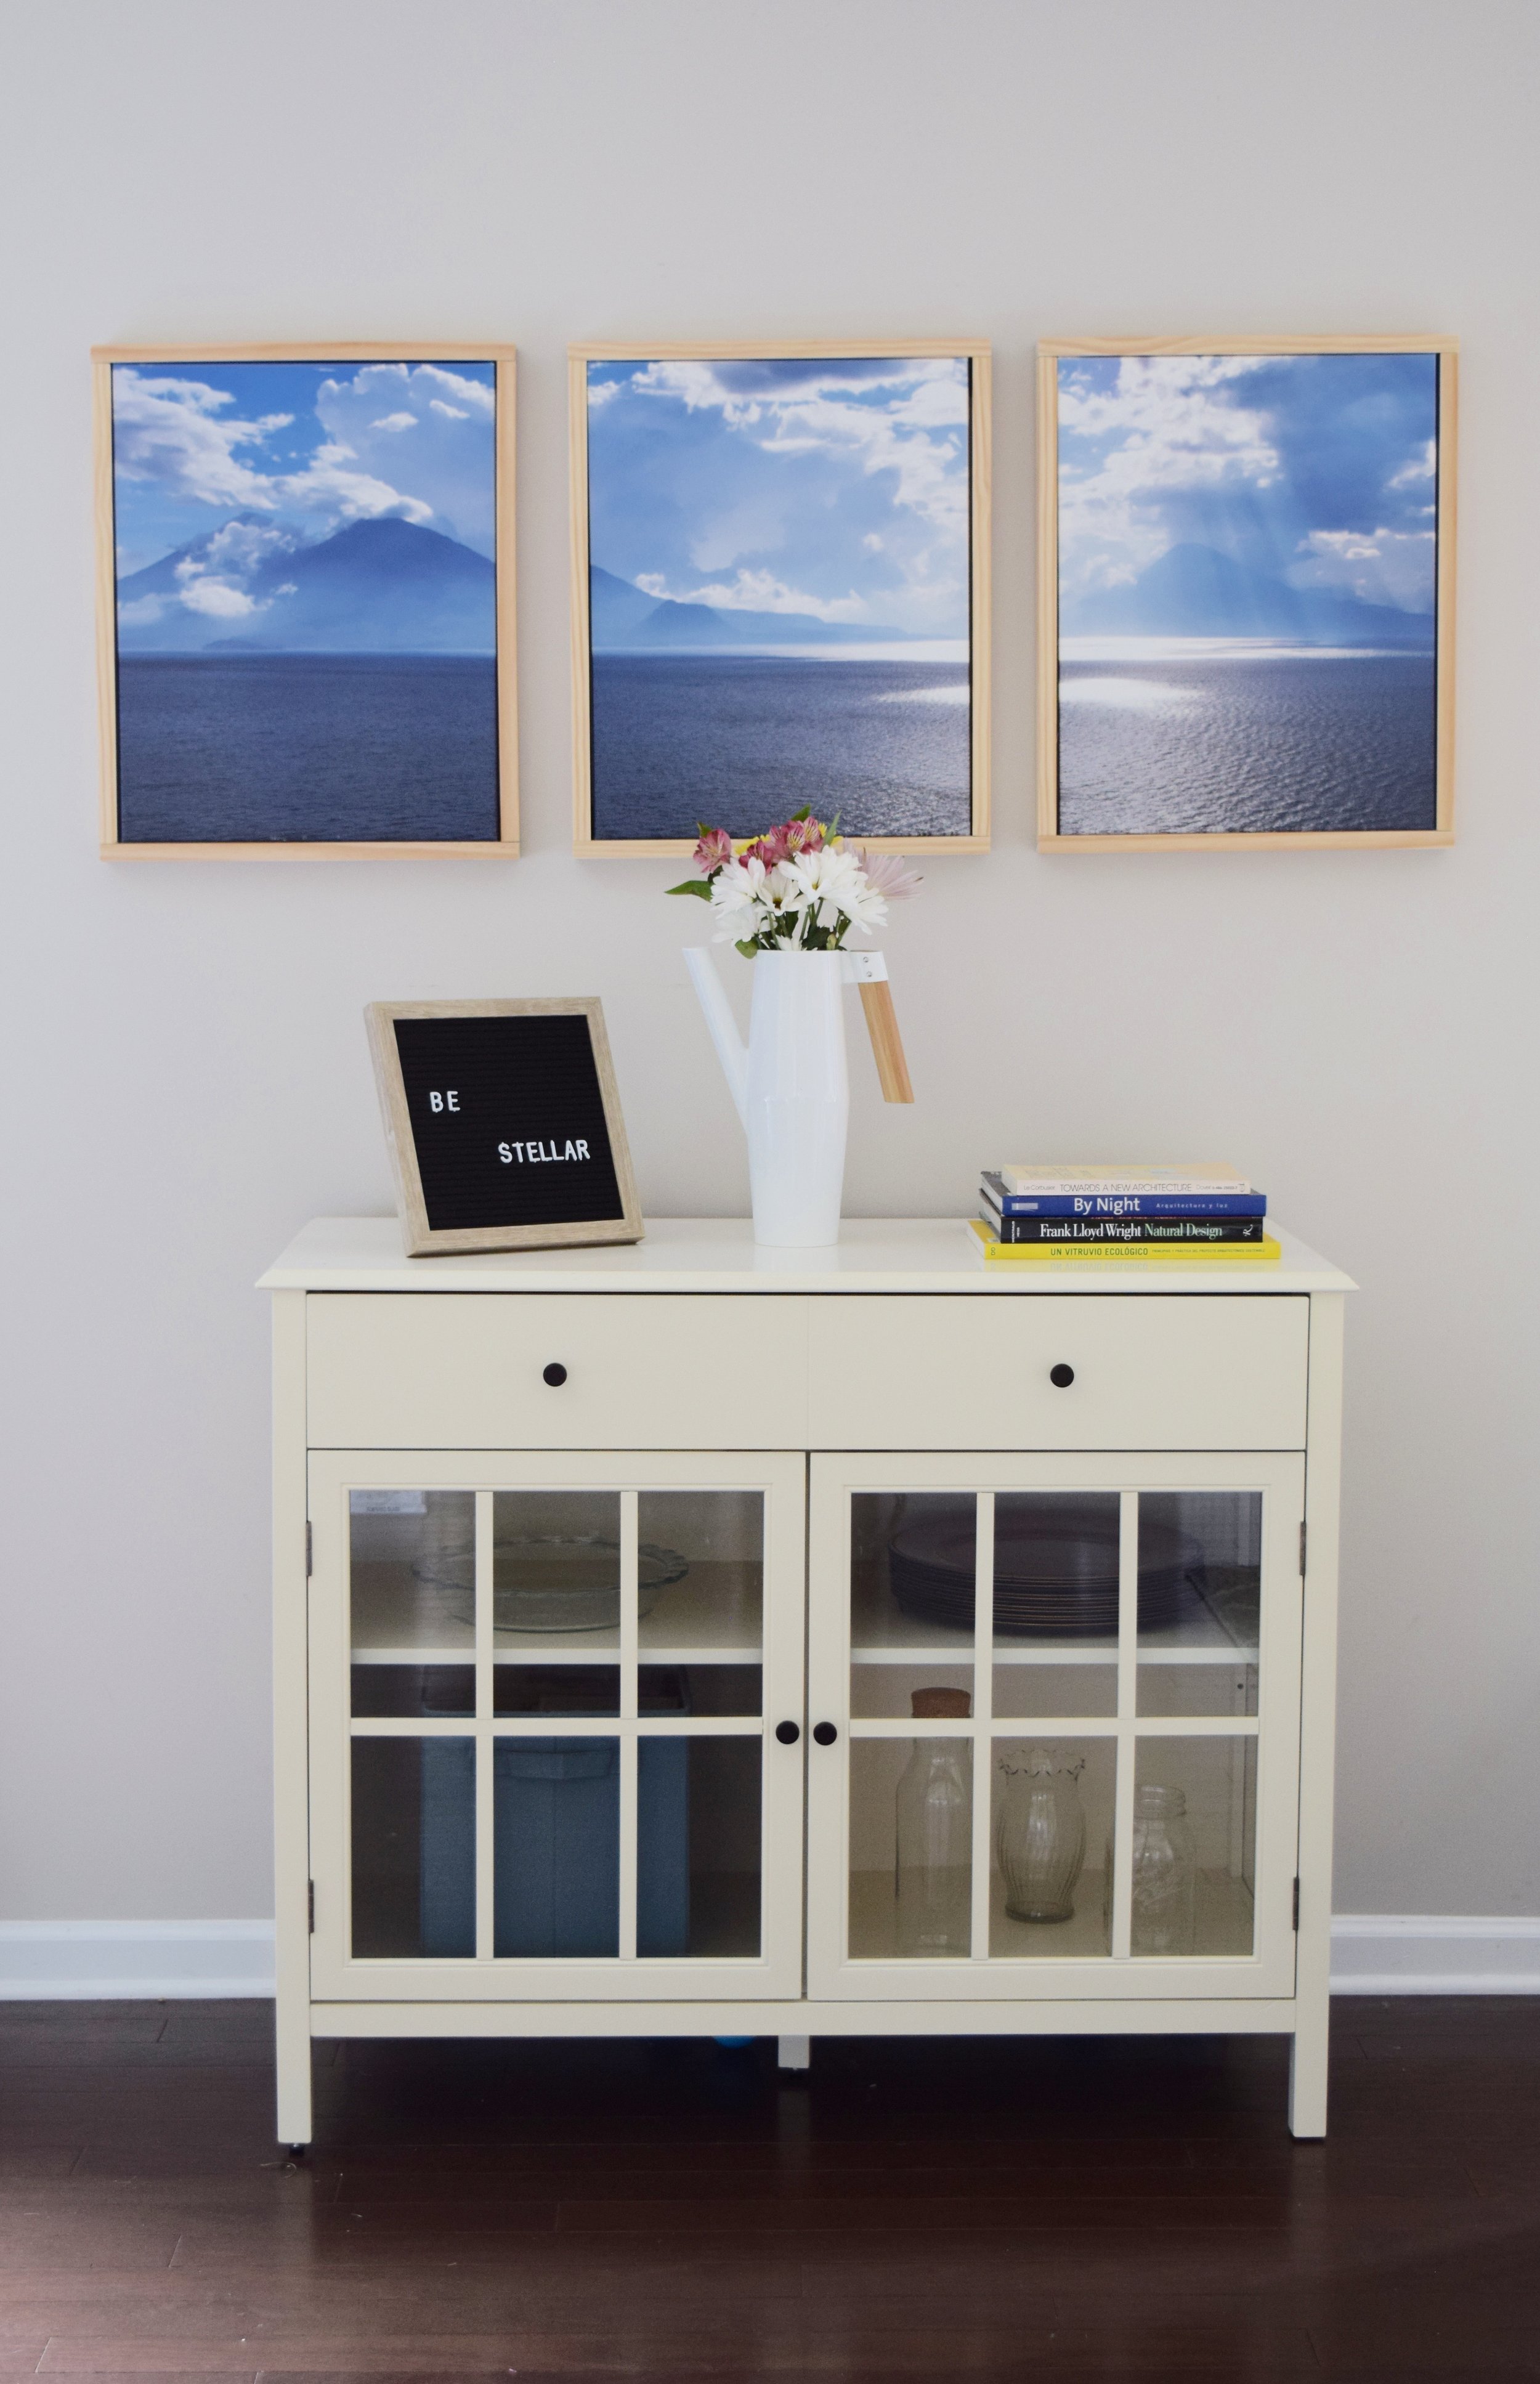
5. One more thing: Insert the canvas in your stellar frame and make sure you use a wood joiner on the back to attach the canvas to the frame. This is a floating frame so it won’t be tight enough to support large pictures as the one I used.
You’re done! enjoy your new decorated wall and feel proud of your stellar work.
